
Sidebar
Table of Contents
Installing Fennosys root CA by using Google Chrome (Windows 10)
Step 1
Click the link above. This will download the file to your designated “Downloads” folder. A message will appear on the lover section of the browser window:
Step 2

Click “Keep”.
The message will now look like this:
Step 3

By clicking it following dialogue will be presented:
Step 4
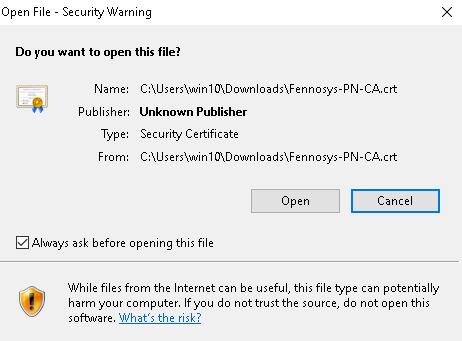
Click “Open”.
Step 5
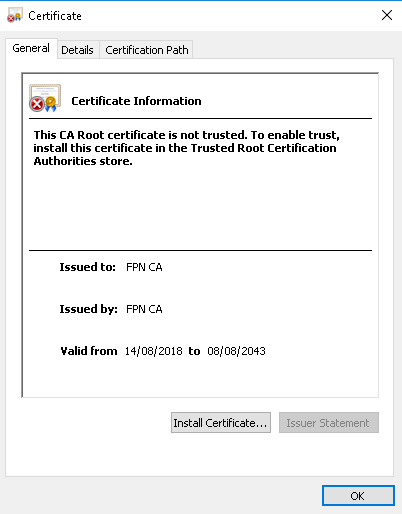
Click “Install Certificate”.
Step 6
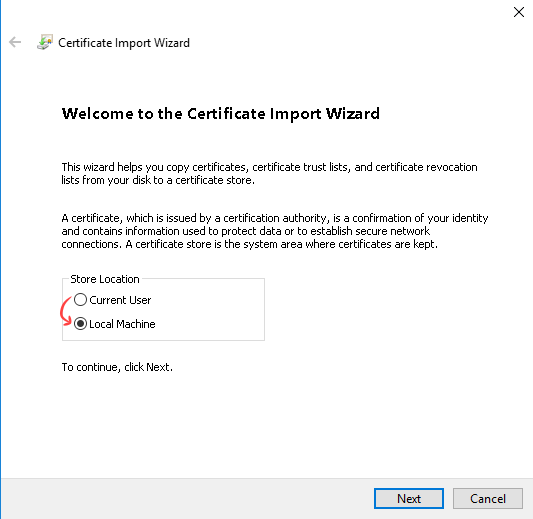
Select “Local Machine” and click “Next”. A new question will be presented:
Step 7
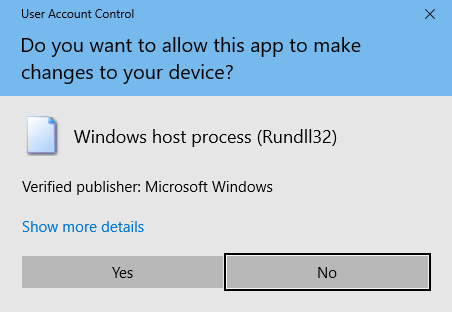
Select “Yes”.
Step 8
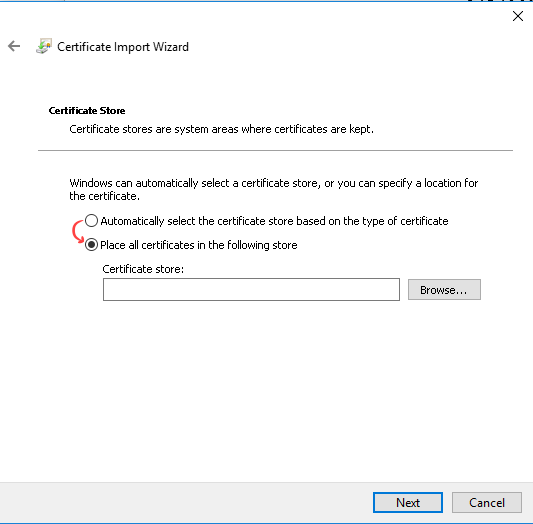
Select “Place all certificates in the following store”.
Click “Browse”. A smaller window will be presented:
Step 9
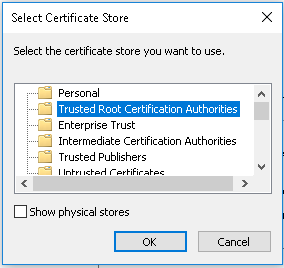
Select “Trusted Root Certification Authorities” from the list and click “OK”.
Step 10
Now you will return to back to “Certificate Import Wizard” shown in Step 8.
Certificate store box reads now: Trusted Root Certification Authorities.
Click “Next”.
Step 11
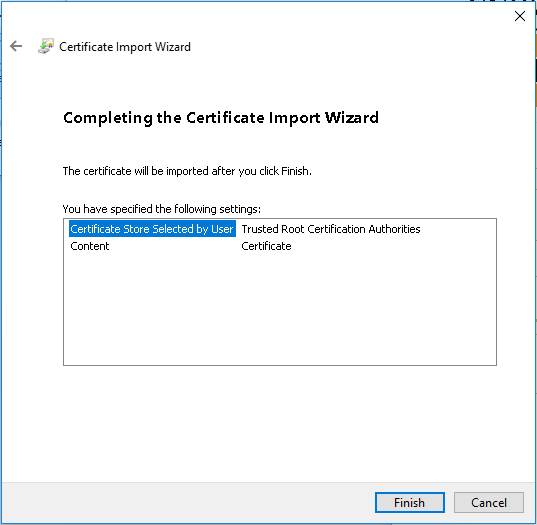
Click “Finish”. One more confirmation:
Step 12
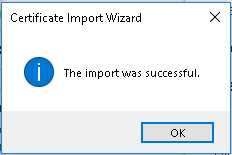
Click “OK” and we are done!
Notes
Google Chrome uses the operating system certificate storage.
This means that once you have finished the above steps also Microsoft Edge browser is able to access websites which use Fennosys Root CA signed certficates.
Firefox handles certificates differently since it uses it's internal certificate repository.
Checking the Fingerprint
Fennosys FPN root CA SHA256 Fingerprint can be found from the Fennosys FPN root CA page.